Hey there!! So good to have you on the blog today, hopping along with the B|M Inspiration Team. Today our hop features a Color Crush inspired by this color palette.
Surface Ink Citrus Color Palette
Of course, I wanted to do an ink blended background, seeing as it’s one of my favorite techniques. For Christmas I received the Picket Fence Life-Changing Blender Brushes. And I am thrilled with them. But I needed a set to use just with my Surface Inks because they are a different ink formulation from water-reactive inks like Catherine Pooler Inks or Distress Inks. Surface Inks are permanent once dried which is a fantastic quality that makes it easy to add water-based color over them (think Arteza Real Brush Pens). The Picket Fence brand of brushes have more bristles than a generic make-up brush and so they are more tightly gathered. Surface Inks feel thicker and dry more quickly to surfaces so I purchased a set of the cheaper blending brushes with less bristles to use with the Surface Inks. The cheaper brushes did not hold the Surface Inks deep down between the bristles, like the Picket Fence brand brushes. This made it a snap to clean the Surface Inks out of the brushes using a bit of Squeaky Clean liquid stamp cleaner and scrubbing pad.
To create my card, I trimmed down a panel of Bristol Smooth Cardstock to 4.25 x 5.5”. Then I blended the inks across the panel in the order of the photo above.
Then, i heat embossed the mushrooms and lady bugs image as well as the sentiment from the Love Bug Stamp Set with Alabaster Embossing Powder near the center of the panel.
I cut the panel apart to create a three mini panels and a sentiment strip. The panel with the mushrooms is fussy cut on the right side to let the image hang off the edge.
Then, I popped up the panels on some foam tape and added them to the front of an A2-sized card base.
With some Arteza Real Brush Pens, I added some color to the mushrooms image. I also added black dots to the white embossing on the lady bugs with a black permanent marker. I colored the sentiment strip black with an Arteza Real Brush Pen and adhered it to the front of the panel.
To finish off the card, I added some moon stone sequins above the sentiment with some liquid adhesive.
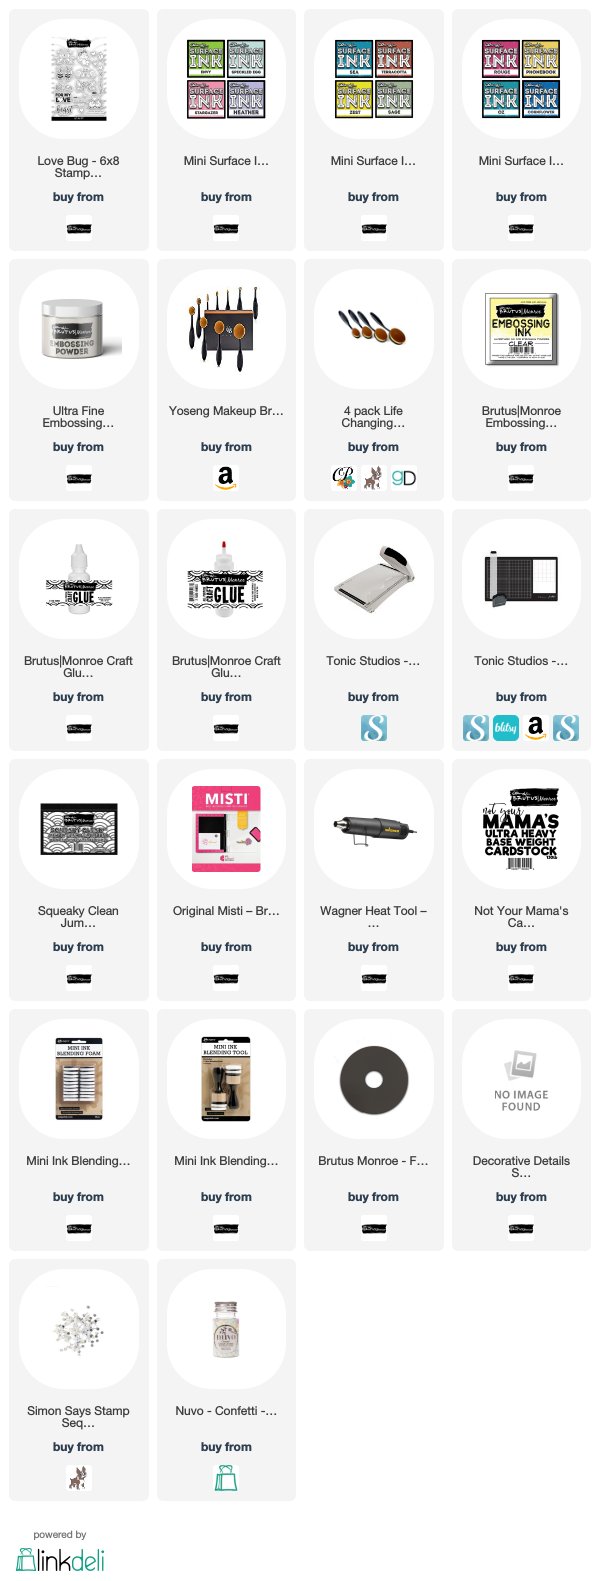
I hope you enjoyed this card tutorial. I’d love to hear what you think about this color combo in the comments below. I have added a grid of supplies below for your convenience. Please consider using affiliate links when making purchases—its like a tip for the inspiration I provide and it costs you nothing extra!
Thank you so much for stopping by, today. I hope you'll continue the hop with the links below. Have a great day and remember to create your own ending.


