Hey there! As promised, I am coming at ya with another Unicorn Bold Prints card — this is take 2! This project takes me back to the eighties with its slightly off set lines and bold colors.
Card #1 The 80’s are Asking for Their Unicorn Back
Supplies Used to Create this Card
Steps to Create this Card
First, I treated a panel of Azalea cardstock with anti-static powder.
Then, I stamped it with the Magical Unicorn Bold Prints and Clear Embossing and Watermark Ink.
Next, I melted some Clear Embossing Powder over it all with my heat tool.
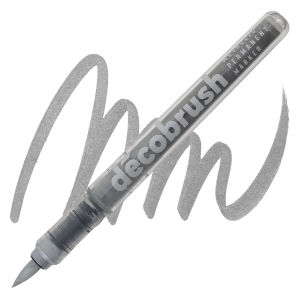
After that, I colored in the unicorn images with a Silver Karin DecoBrush Marker and the other bits with a white gel pen.
Then, I repeated steps 2 & 3, but used Black Detail Embossing Powder and moved my panel just slightly from its original position to create and offset look.
Next, I trimmed down the panel to 4 x 5 1/4” and popped it up on the front of an A2-sized card base of Dove White Cardstock.
Then, I die cut the Hello There die three times out of Pitch Black Cardstock and stacked them with Precision Glue.
After that, on some Dove White Cardstock, I traced the outside of the same die with a pencil and fussy cut it out to create a shadow for the die cuts.
Next, I adhered the die cuts to the shadow and then adhered it all to the front of the card.
To finish it off, I added some black and white enamel dots to the front!
These bold prints are always fun, but this on in particular has a really great set of line drawings that make me smile. I made one more card with this bold prints. Stay tuned for it!
If you feel inspired to shop for these items, you will find a grid of supplies below for your convenience. Thank you so much for joining me today and for using my links when shopping.
Have a super day!
NOTE: FOR LINKS TO WORK, PLEASE CLEAR YOU COOKIES IN YOUR BROWSER BEFORE CLICKING MY LINKS.
|


