Hey there Arties!! I’m happy you have stopped by for the release day blog hop and video for the Hero Arts My Monthly Hero November 2022!
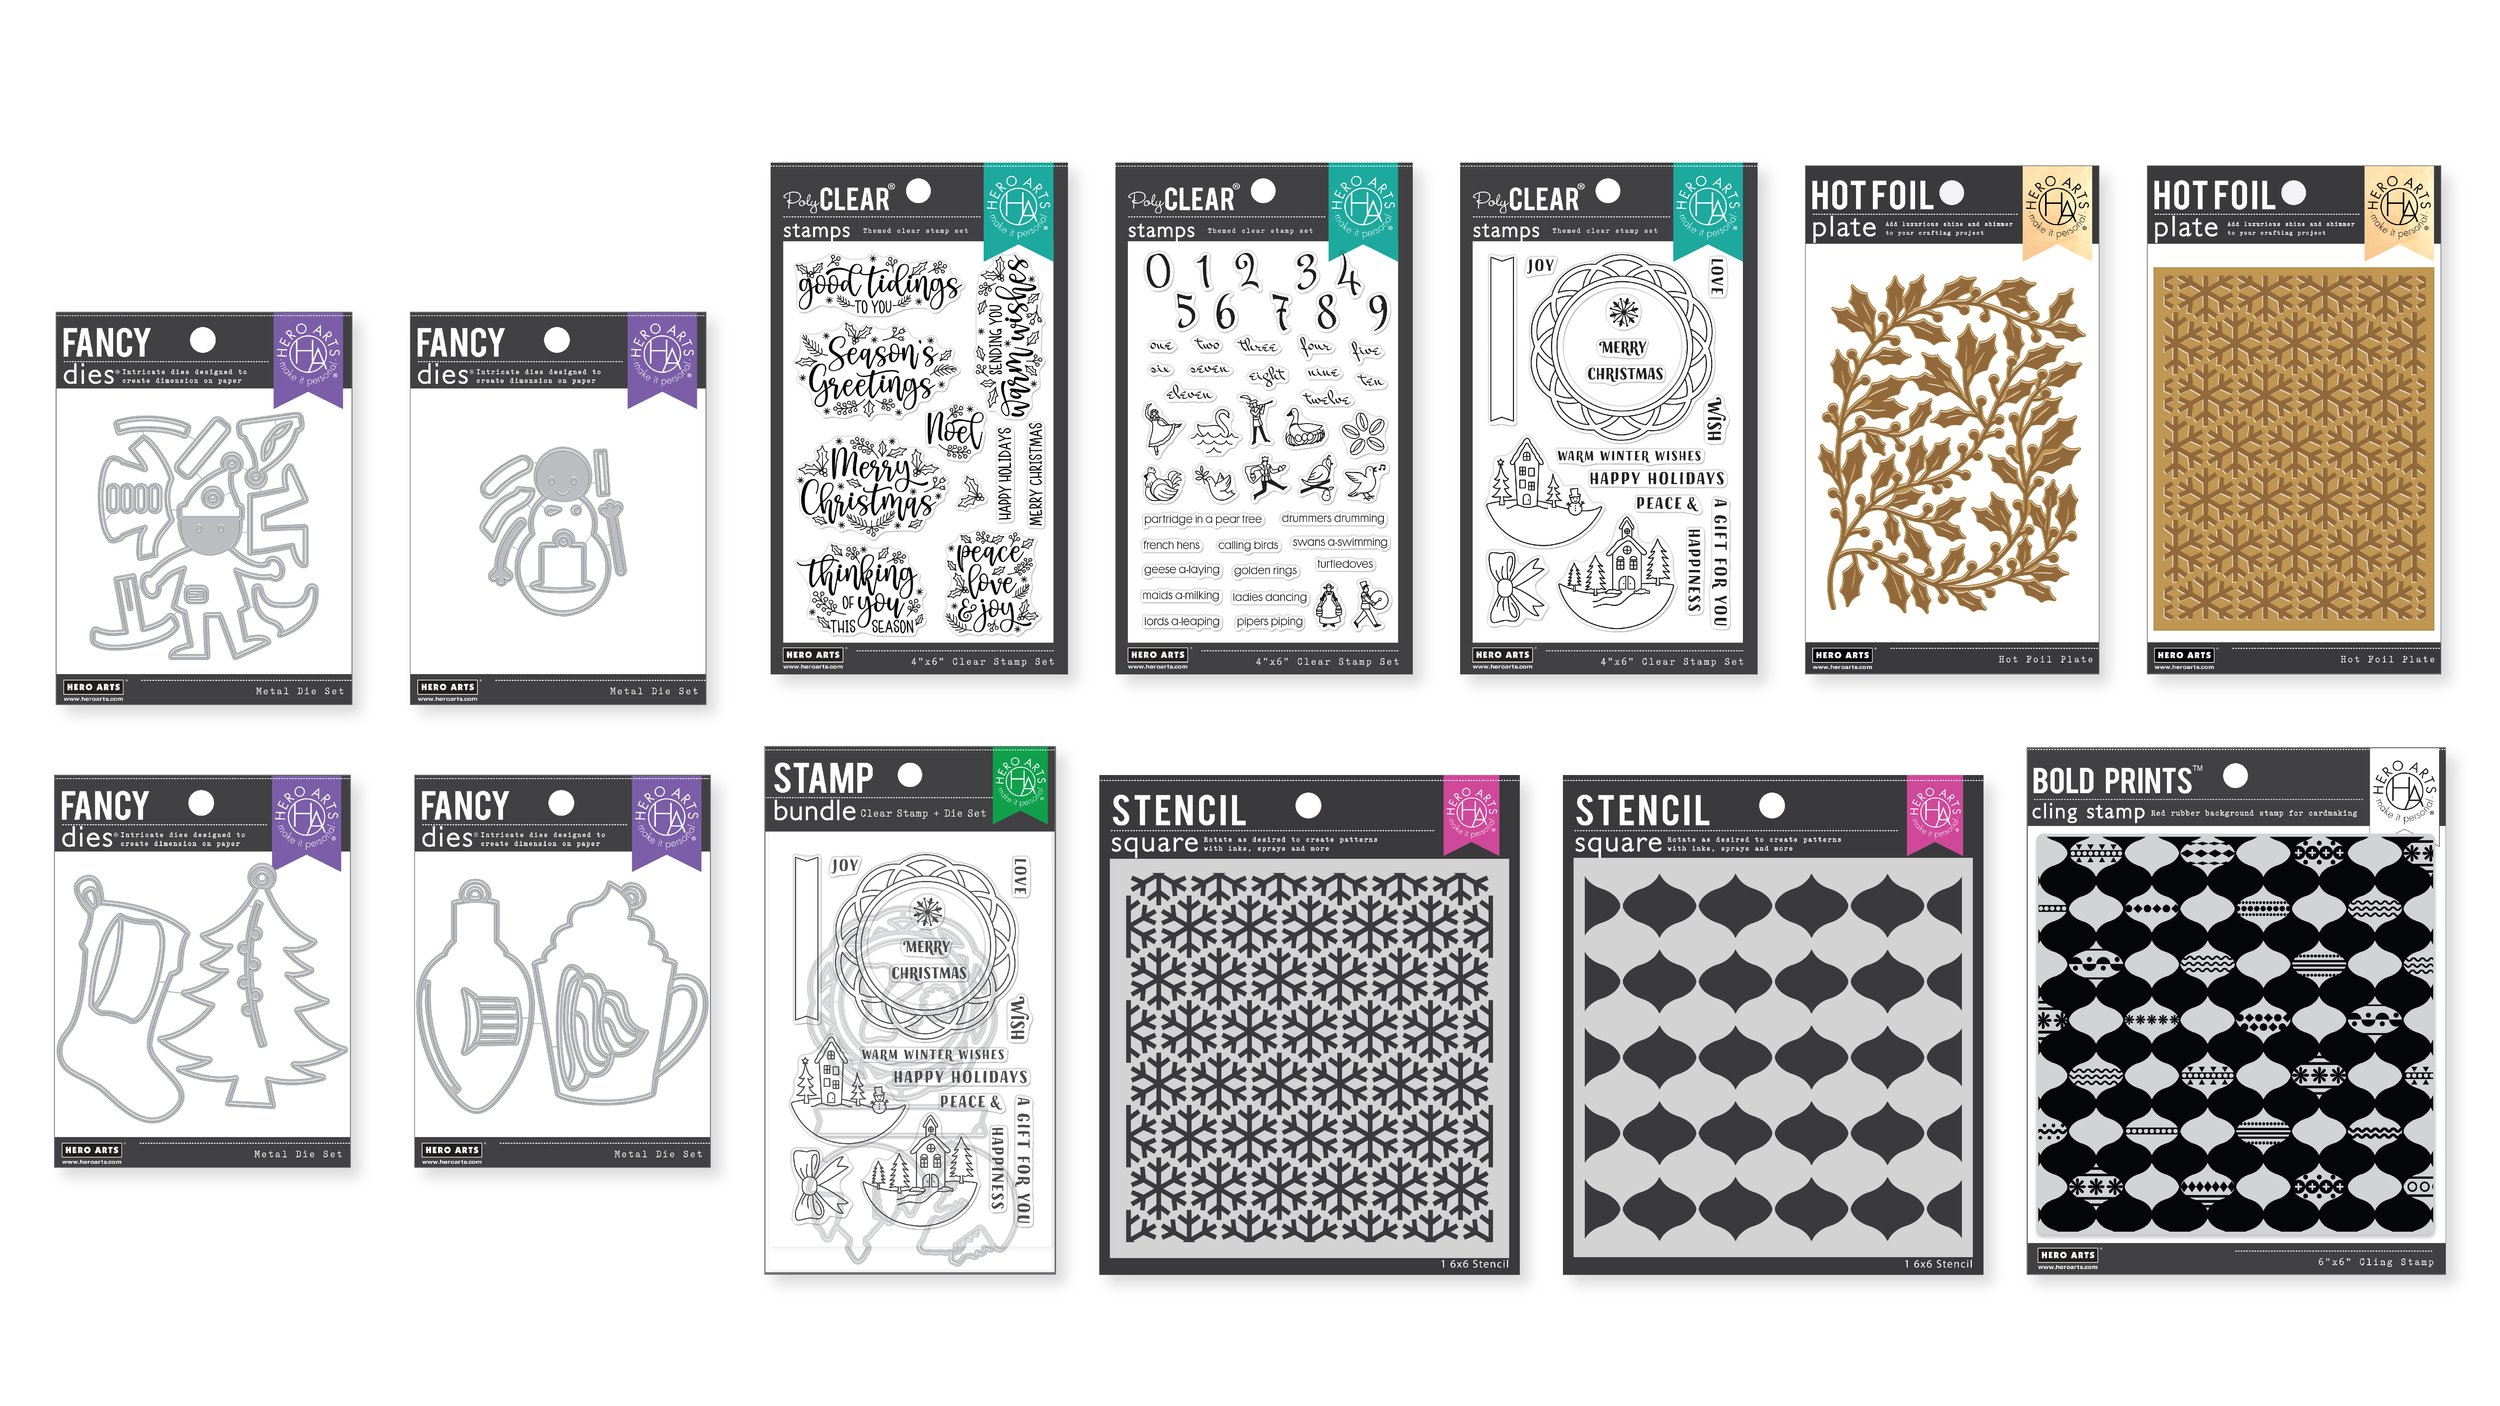
'Tis the season... for making holiday tags and decorations! Our November My Monthly Hero release is packed full of darling products you can use to create handmade ornaments, tags, cards and more! The kit includes a large set of 31 scene-building dies that can be combined in countless ways. There's a message set featuring holiday essentials. The kit is rounded out with ribbon and sequins - the perfect finishing touches for your tags or ornaments!
Kit Shipping
Pre-order your kit today - we estimate kit shipping will begin Friday, November 11th and continue throughout the following week.
Thank you for using my affiliate links to shop. If you receive any value out of my posts, you can support my artistic efforts by using these links at no additional cost to you.

Click the image to grab the kit now!
Kit Contents:
• 3" x 4" Clear Stamp Set
• 31 Ornament-building Fancy Dies
• 6 Sheets of Acetate Panels
• 10 Sheets of Deluxe Smooth White Cardstock, 5.5" x 8.5"
• Scarlet Satin Ribbon, 1/4" wide, 3 yds.
• Snowflake Sequins
Kit Value: $71
Kit Cost: $34.99

GIVEAWAY:
We will give away a $50 gift card, drawn from the comments left across the hop. Enter by Sunday, November 13th at 11:59pm Pacific, and the winner will be announced on the Hero Arts blog the following week.

NOTE: This card uses only stamps and dies from the main kit except for the infinity dies.
Project #1 — Thank you
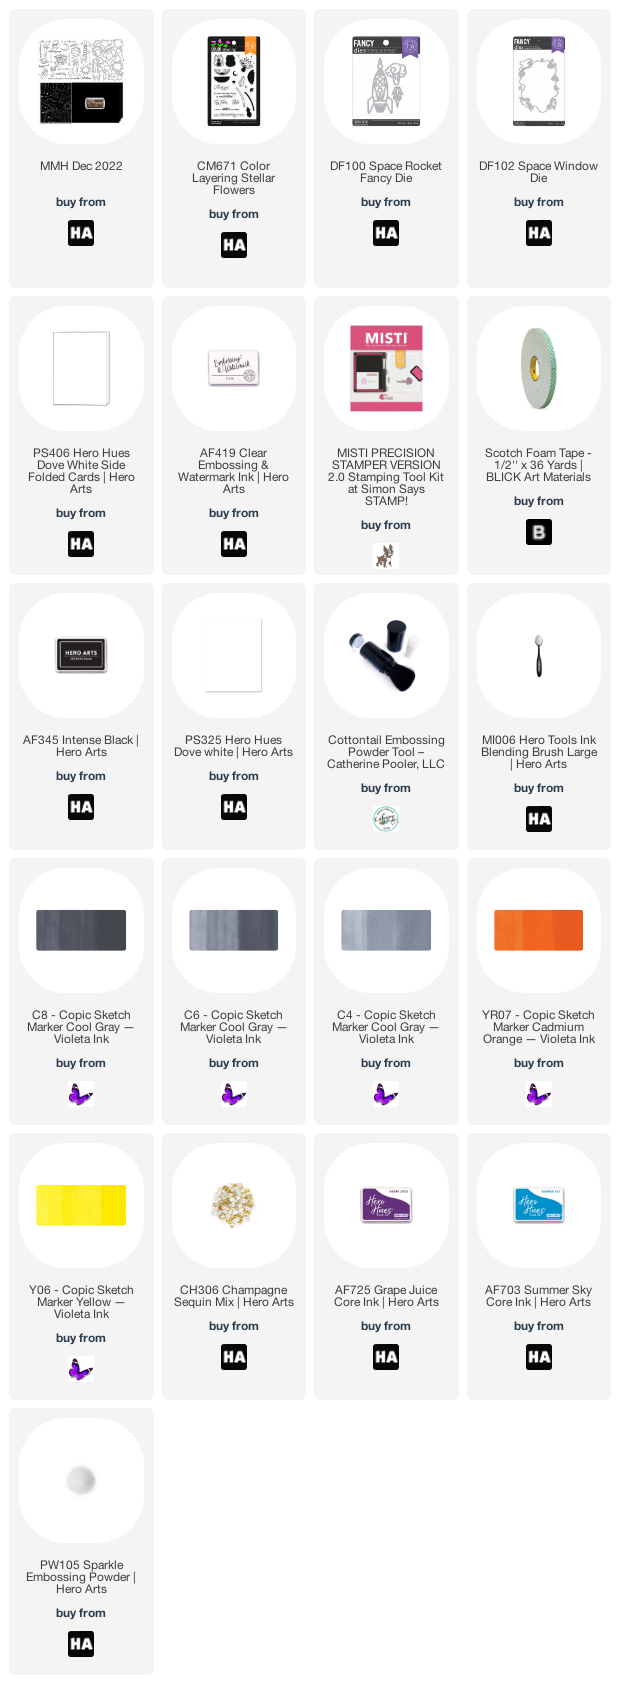
Supplies:
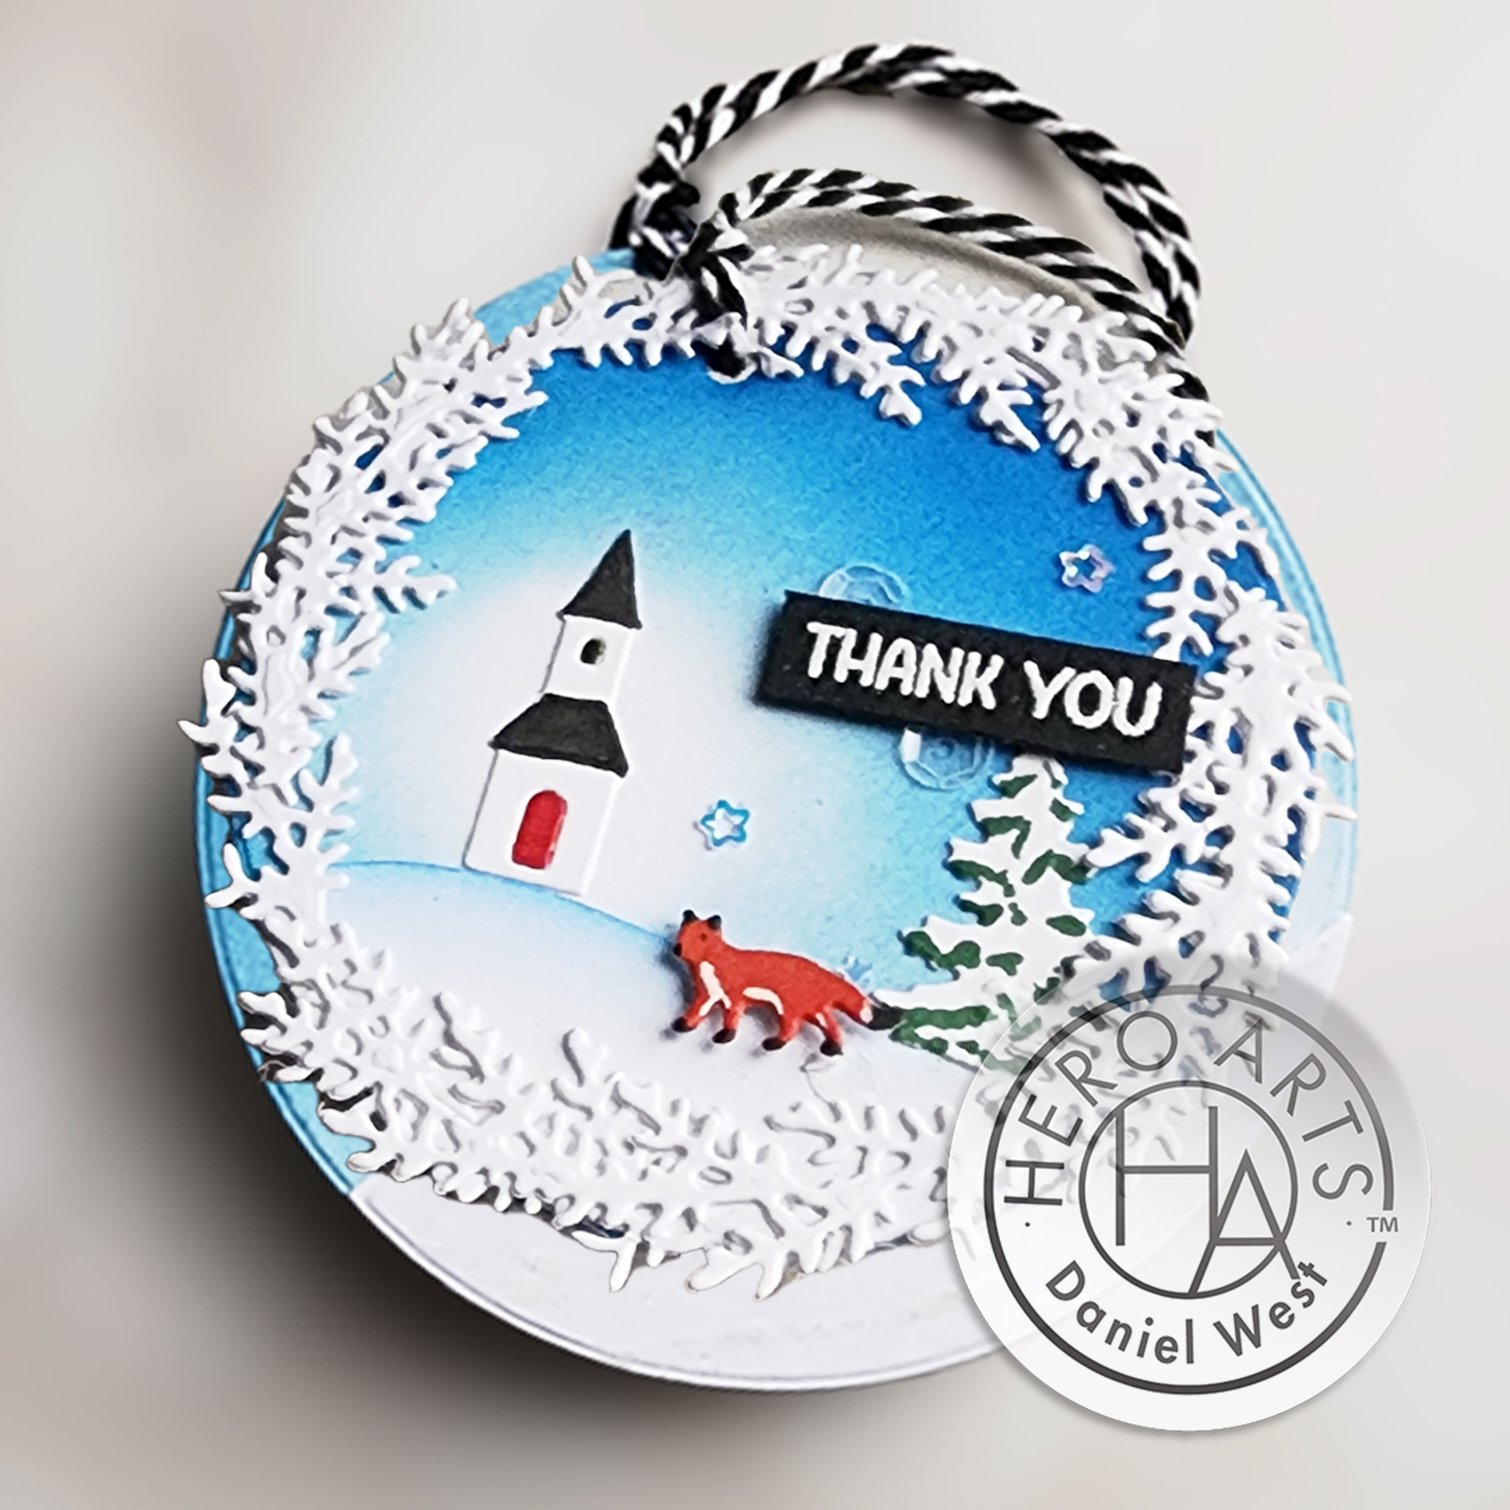
Steps to Create this Card
Die cut the circle tag die twice and add some blue ink in a vignette around the outside, leaving a white space center left.
Die cut the fronds out of white cardstock four times.
Die cut the foreground, fox, tree and church out of white cardstock.
Color the church, fox and tree with Copic Markers.
Add a brush of blue ink to the foreground.
Adhere everything down with Precision Glue.
Tie the two round tag pieces together with Baker’s Twine.
Finish it off with some Icicle Sequins!
TIP: To color the tree with the look of snow on it, just splotchily add green to the undersides of the boughs and leave the rest white!

Project #2 — Foiled again!
Supplies:

Steps for Creating this Card
Foil a panel of Deluxe Smooth cardstock with silver hot foil and the Snowflake Pattern Hot Foil Plate.
Trim it down to 3.75 x 5” and pop it up on the front of an A2-sized card base with foam tape.
Die cut an oval of Cherry Cardstock and dry emboss it with the Snowflake Pattern Hot Foil Plate.
Pop it up on the front of the foiled panel with foam tape.
Die cut the snowman tag dies out of white cardstock and color them in with Copic markers.
Adhere the scarf, hat, arms, nose and buttons with Precision Glue to the body of the snowman.
Pop him up on front with more foam tape.
Finally, stamp a sentiment from the Holiday Foliage Messages set with Intense Black Ink on some white cardstock.
Finally, trim it down to a strip and pop it up on the front with foam tape.
Bonus Projects… Just for lookin’ at! Can you guess how I made them? Leave a comment below.


I hope you have enjoyed this release and these projects. If you have been inspired to shop for these supplies, please consider using the affiliate links in the grid below. I will receive a small portion of the sale at no additional cost to you.
Thank you for joining me today and I hope you’ll enter the giveaway and continue on the hop with the list below.