Hey there Arties!! I’m happy you have stopped by for the release day blog hop and video for the Hero Arts My Monthly Hero July 2022!
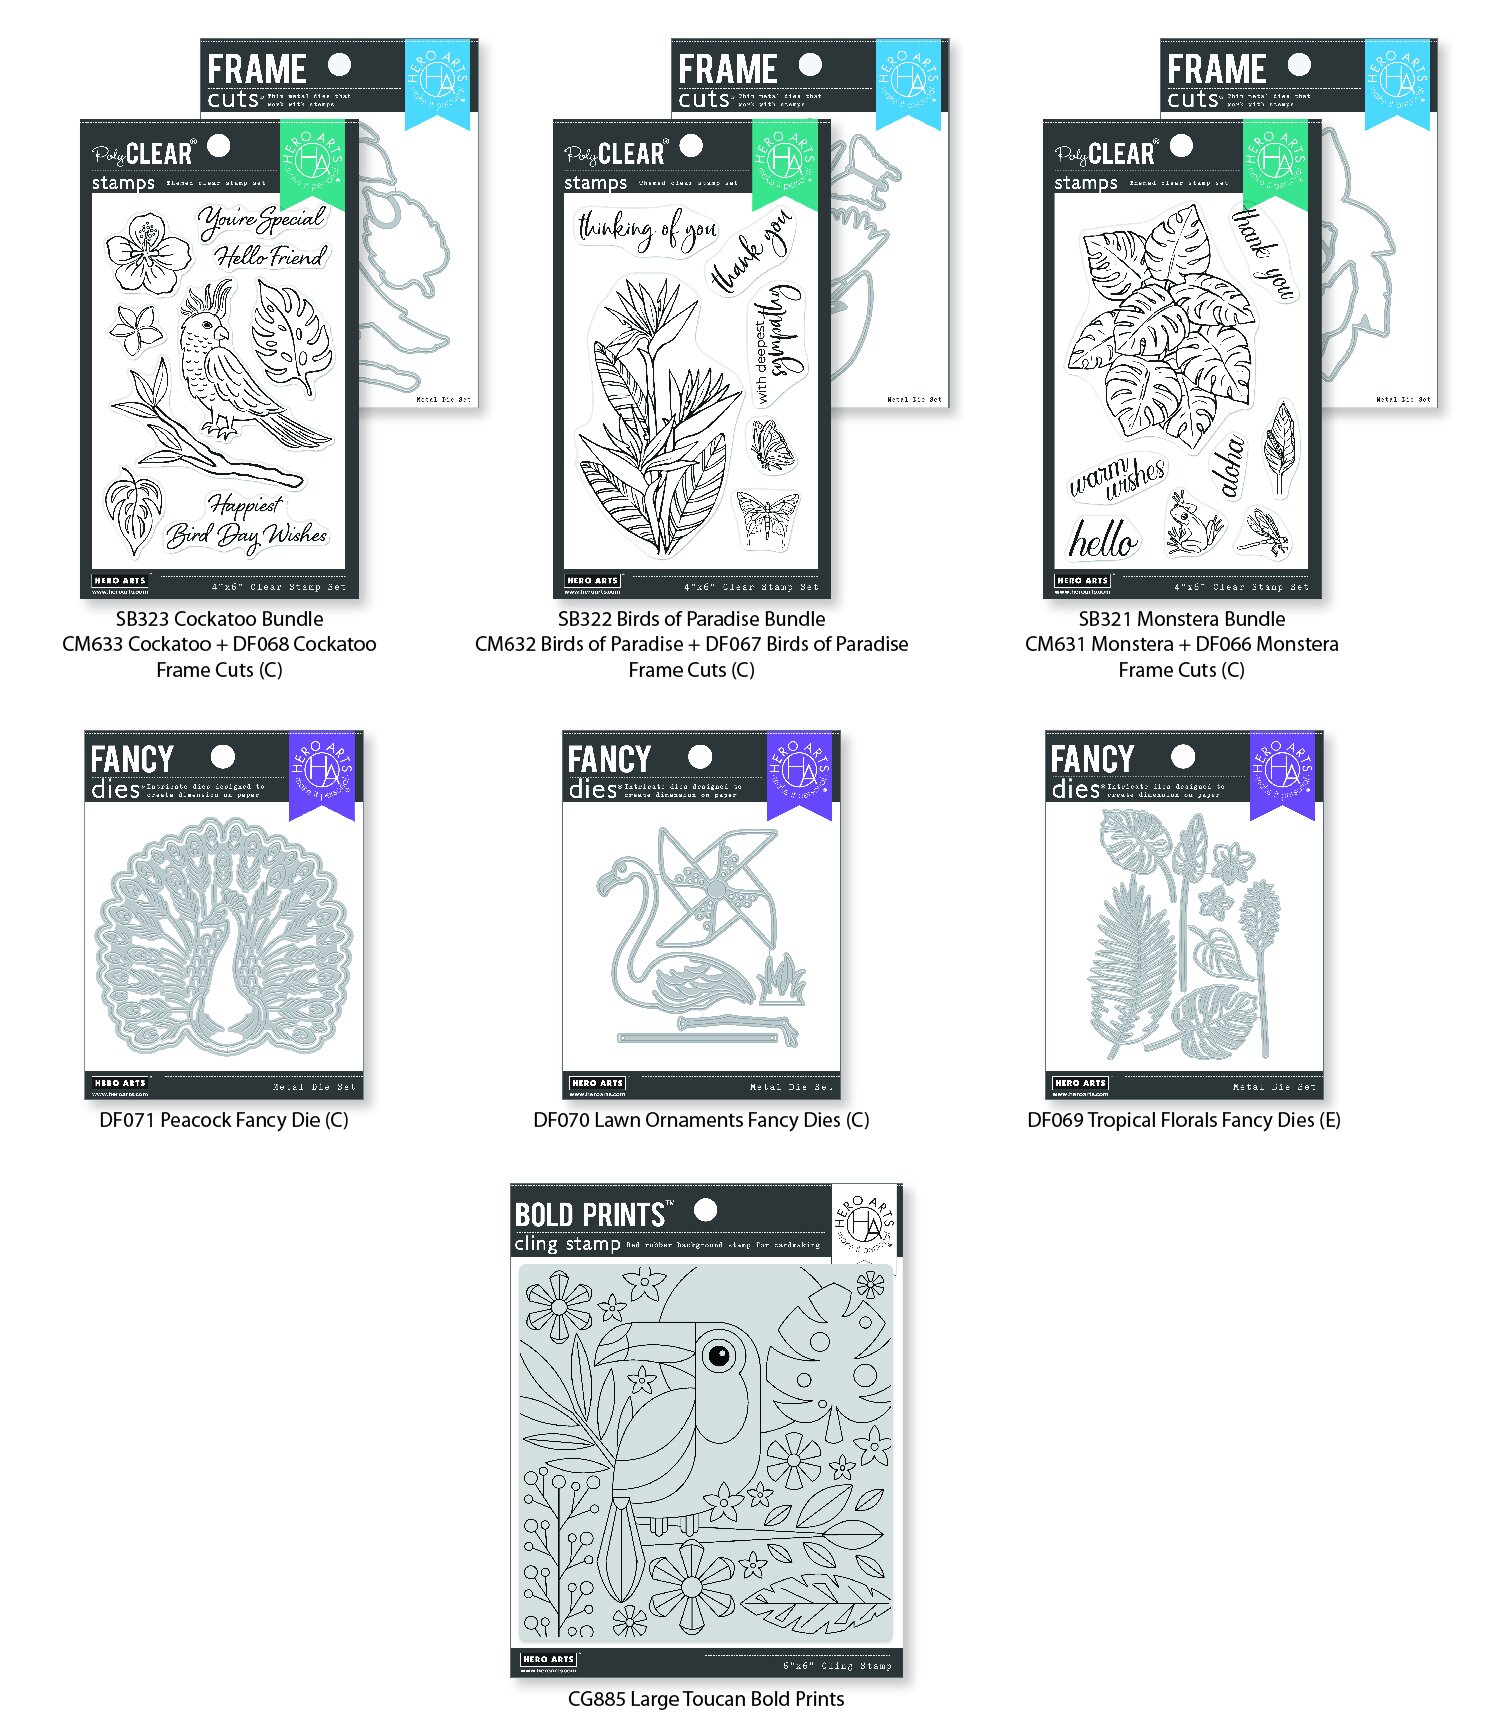
We’re serving up tropical summer vibes with our July My Monthly Hero release! This month’s kit features a flock of flamingos in HeroScape form. Layer the included inks to easily stamp the gorgeous birds, and create a scene with water below and clouds above. Your recipient will be tickled pink when they receive your card, embellished with the colorful gems or Teal Hero Pearls that round out the kit.
Kit Shipping
Pre-order your kit today - we estimate kit shipping will begin Friday, July 8th and continue throughout the following week.
Thank you for using my affiliate links to shop. If you receive any value out of my posts, you can support my artistic efforts by using these links at no additional cost to you.
Kit Contents:
• 6" x 8" Clear Stamp Set
• 7 Coordinating Frame Cuts
• 5 Ink Cubes (Cotton Candy, Peony, Azalea, Arctic, Paradise)
• Self-Adhesive Pink & Teal Gems
• Teal Hero Pearls (0.6 oz)
Kit Value: $75
Kit Cost: $34.99
GIVEAWAY:
We will give away a $50 gift card, drawn from the comments left across the hop. Enter by Sunday, July 10th at 11:59pm Pacific, and the winner will be announced on the Hero Arts blog the following week.
NOTE: This card uses only stamps and dies from the main kit except for the infinity dies.
Project #1 — You Tickle Me Pink
Supplies:
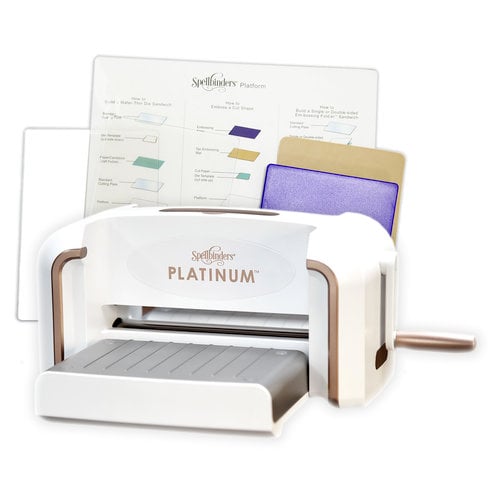
Gemini Jr Die Cutting Machine ($139.99 at Scrapbook dot com)
Steps to Creating this Card
First, I stamped and die cut the color layering flamingos with Cotton Candy, Pale Tomato and Crimson Inks.
Then, I stacked a few more flamingo die cuts underneath with Precision Glue
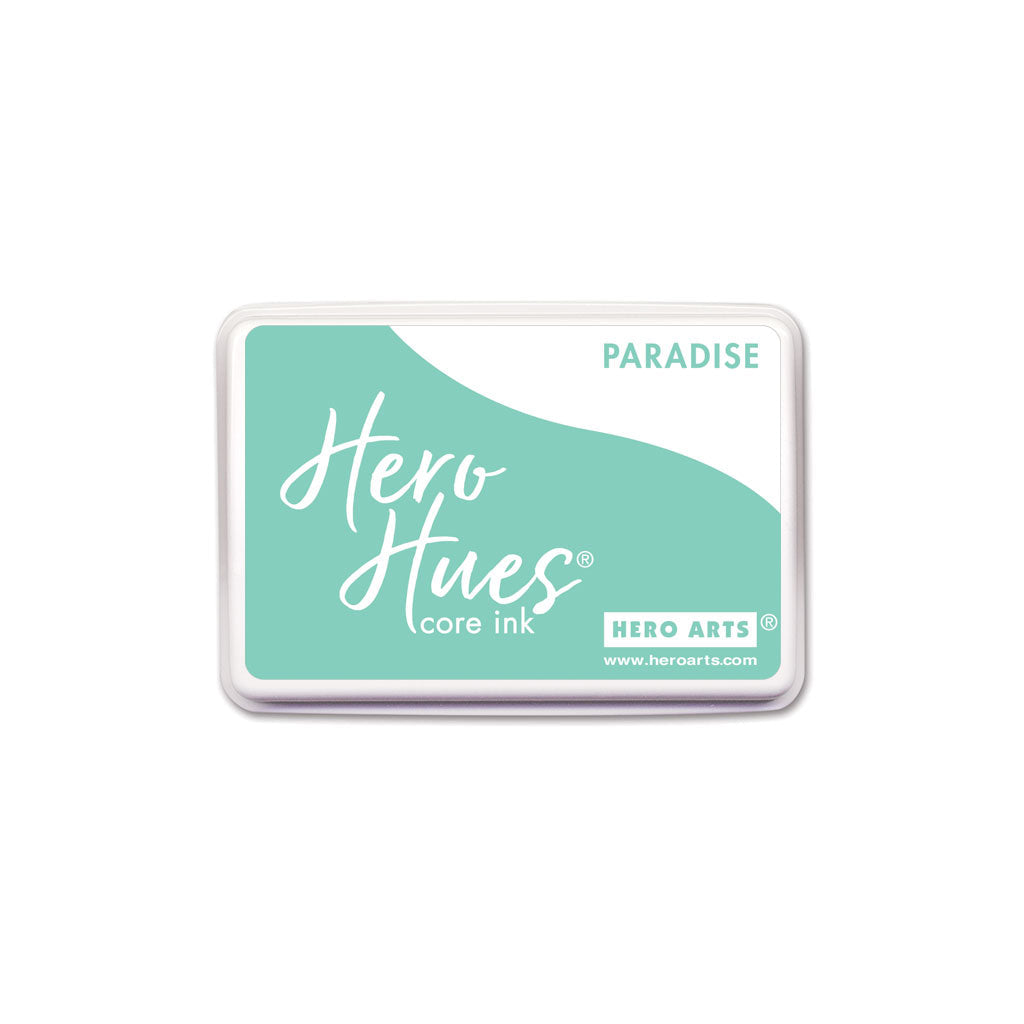
Next, I stamped down the water layers with Mint Julep ink (Use the Arctic Core Ink Cube in the kit) and Paradise Core Ink.
After that, I stamped some blue clouds in the sky with Dusty Blue Core Ink and added a gradient of the same ink down the top of the card front with a blending brush.
Then, I adhered the flamingos to the front with Precision Glue and stamped the sentiment near the bottom with Intens-ified Black Ink.
Watch the video to see how the fun I had with this kit!
Steps for Creating this Card
First, I stamped out the monstera image with Intense Black Ink and colored it in with Copic Markers.
Then, I stamped it again with Clear Watermark & Embossing Ink and melted some Clear Embossing Powder of the top of it with a heat tool.
Next, I stamped out the monstera image all over the front of a Dove White note card with Antique Ivory Core Ink for a background.
After that, I die cut a piece of cardstock and applied the Antique Ivory Ink direct to paper with the pad to create backing for the monstera die cut.
Then, I die cut the monstera out.
Next, created a sentiment strip with the Message Strips Stamp N Cut XL with Pitch Black cardstock and White Embossing Powder.
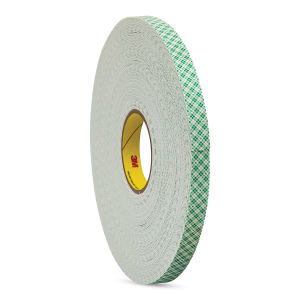
Finally, I popped it all up on the front of the card with foam tape and added some Champagne Sequins for shine.
Bonus Projects… Just for lookin’ at! Can you guess how I made them? Leave a comment below.
I hope you have enjoyed this release and these projects. If you have been inspired to shop for these supplies, please consider using the affiliate links in the grid below. I will receive a small portion of the sale at no additional cost to you.
Thank you for joining me today and I hope you’ll enter the giveaway and continue on the hop with the list below.
|


