Hello there! Someone messaged me this week asking if I could help them with Copic color selection for a black cat! Then, somehow, I promptly lost the message and cannot locate it, to reply directly to the person. So this post should cover the request thoroughly enough.
Coloring black critters with a Copic 110 or 100 marker will cause you lose the details of the illustration, usually. So another color combo should solve this issue. But what should we use? I got to watching my favorite Copic colorist, Sandy Allnock, and she uses variations of the Copic gray families. I have also see her use violets or blue violets depending on the lighting in the scene she colors.
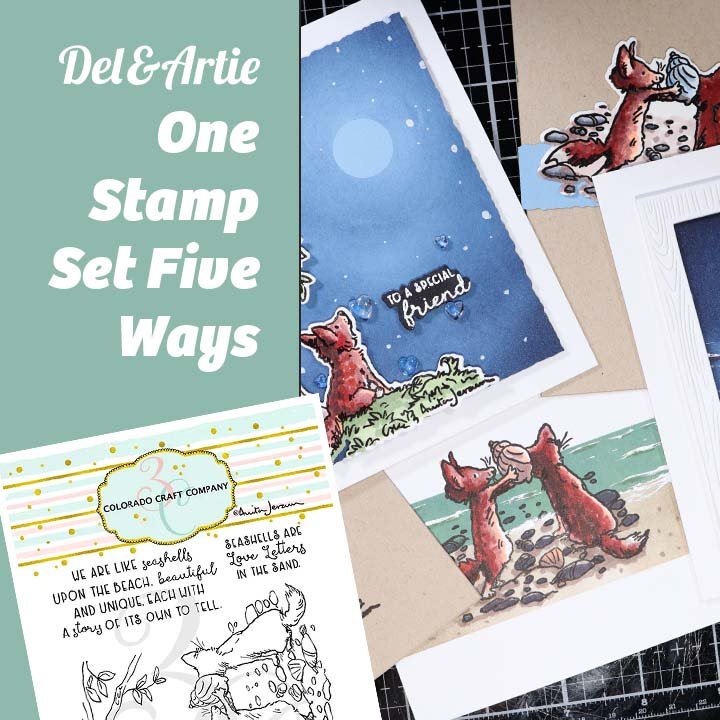
On Saturday, for Del & Artie Live, I showed how to color in a black bear and took Sandy’s cue for adding a brown muzzle.
In this post, I have used affiliate links. When you use my links and accept cookies, I will receive a portion of the purchase price at no additional cost to you. Thank you for your thoughtfulness when shopping and using artists’ links. They help us bring content to you without charge!

Supplies List for Creating this Card
Supplies List:
Copic Markers - W9, W8, W7, W6, E11, E13, E15, E17, E18, W3, W0, R22, G09, R27, (linked below in grid)
Steps for Creating Card
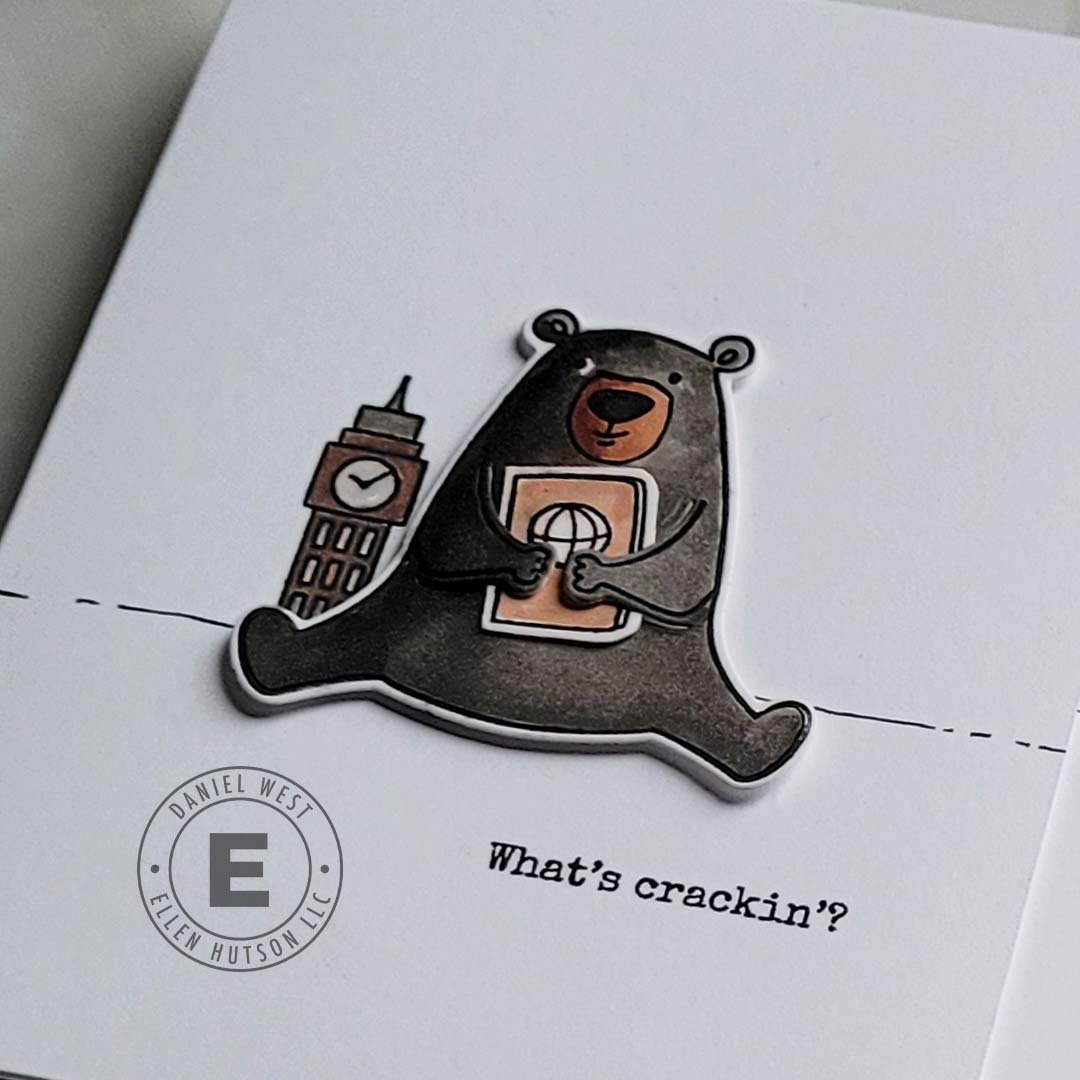
To begin, I stamped out my bears with alcohol friendly black ink — Intense Black — from Hero Arts, and die cut them.
Then, I colored each bear in with Copic markers.
Black bear — W9, W8, W7, W6, E13, E15, E18
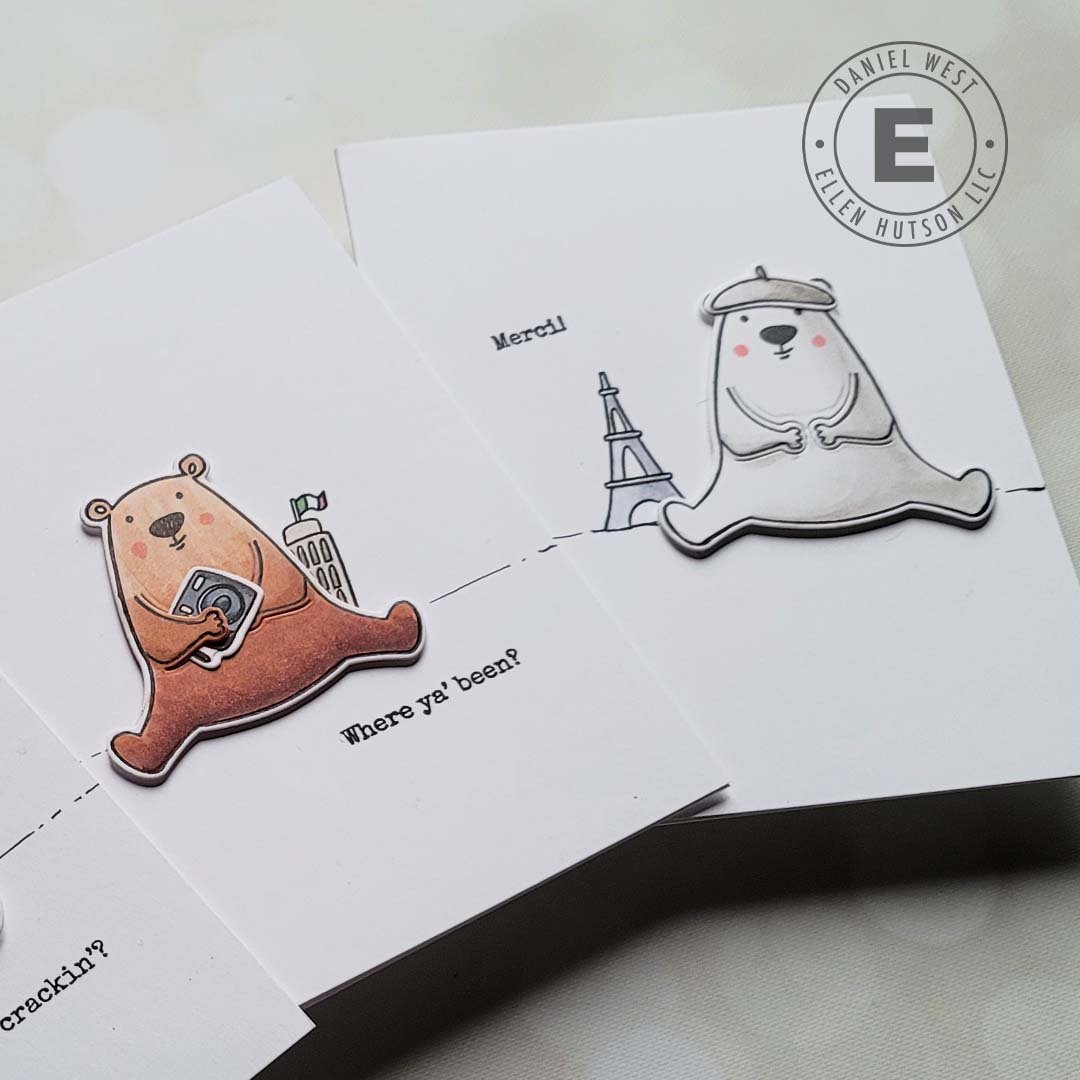
Brown bear — E18, E17, E15, E13, E11 with R22 for the rosy cheeks
Polar bear — W3 and W1 with R22 for the cheeks.
Next, I drew a rough horizon 2 inches up from the bottom of each card base with a fine liner pen and stamped a landmark on each card… an Eiffel Tower, a Big Ben and a Leaning Tower of Pisa, and colored them in with Copic markers.
After that, I stamped and die cut the beret, camera and travel book and adhered them to the front of each bear.
Then, I popped each bear up in front of each card base and finished off each card with a sentiment.
Tips:
To color black critters well, don’t color them black, color them gray and let the light source do the work of turning gray to black for your eyes!
For a more seamless blend, use markers in the same family (E11, E13, E15, E17, E18, e.g.) The closer the last numbers are to each other, the more seamlessly they will blend together.
If you don’t have an E17, but want a better blend between E18 and E15 ( or other color families, too), scribble some of the darker color out on your glass mat and pick some of it up with the light marker. Use that as an in-between color for blending.
Thank you for spending some time with me today. If you are excited about the supplies I used in this post, you can pick them up using my affiliate links in the grid of supplies below.
I hope you have a wonderful day!
Daniel