Hey there!! Welcome to the Pear Blossom Press Power Pack Kit Hop!
What great fun these power packs are. I thought they would be really difficult to put together, but actually, the kits are super easy to use. I recorded my setup for these cards and you can find the video below. It’s a real privilege to receive this kit from Amanda at Pear Blossom Press!
Prizes
Three Power Pack Kits will be awarded to winners, chosen at random, from comments left on participating blogs and videos. Comments must be posted by 11:59 pm PDT on August 3, 2019. Void where prohibited by law. For complete contest rules, visit here Winners will be announced on August 5, 2019, here.
Let’s Dive In
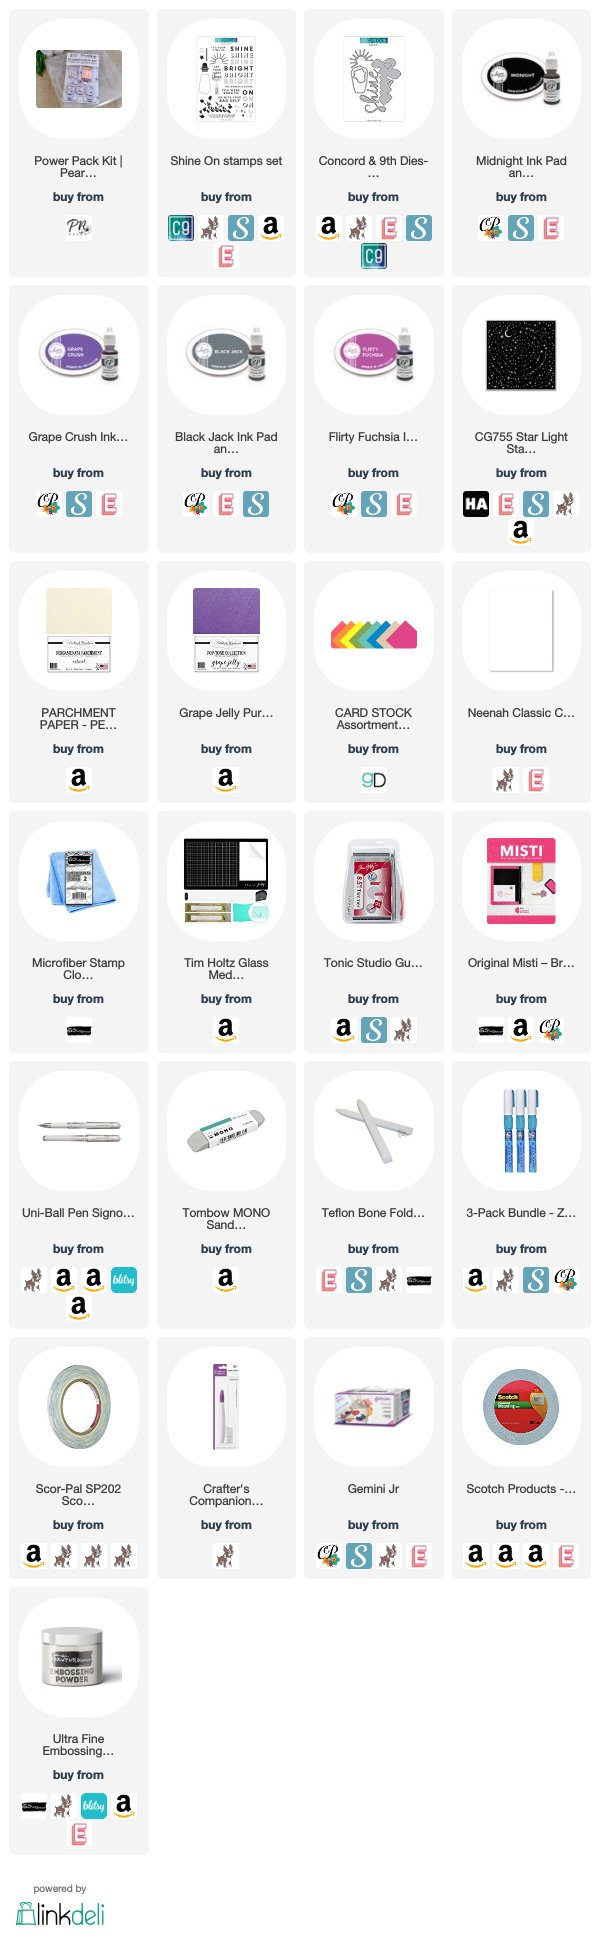
The Power Pack Kit has the lead role in this post, but I paired it with an incredible stamp set from Concord and 9th, some amazing inks from Catherine Pooler, some beautiful cardstock from Gina K and Cardstock Warehouse, and some other supplies you will find in the grid below.
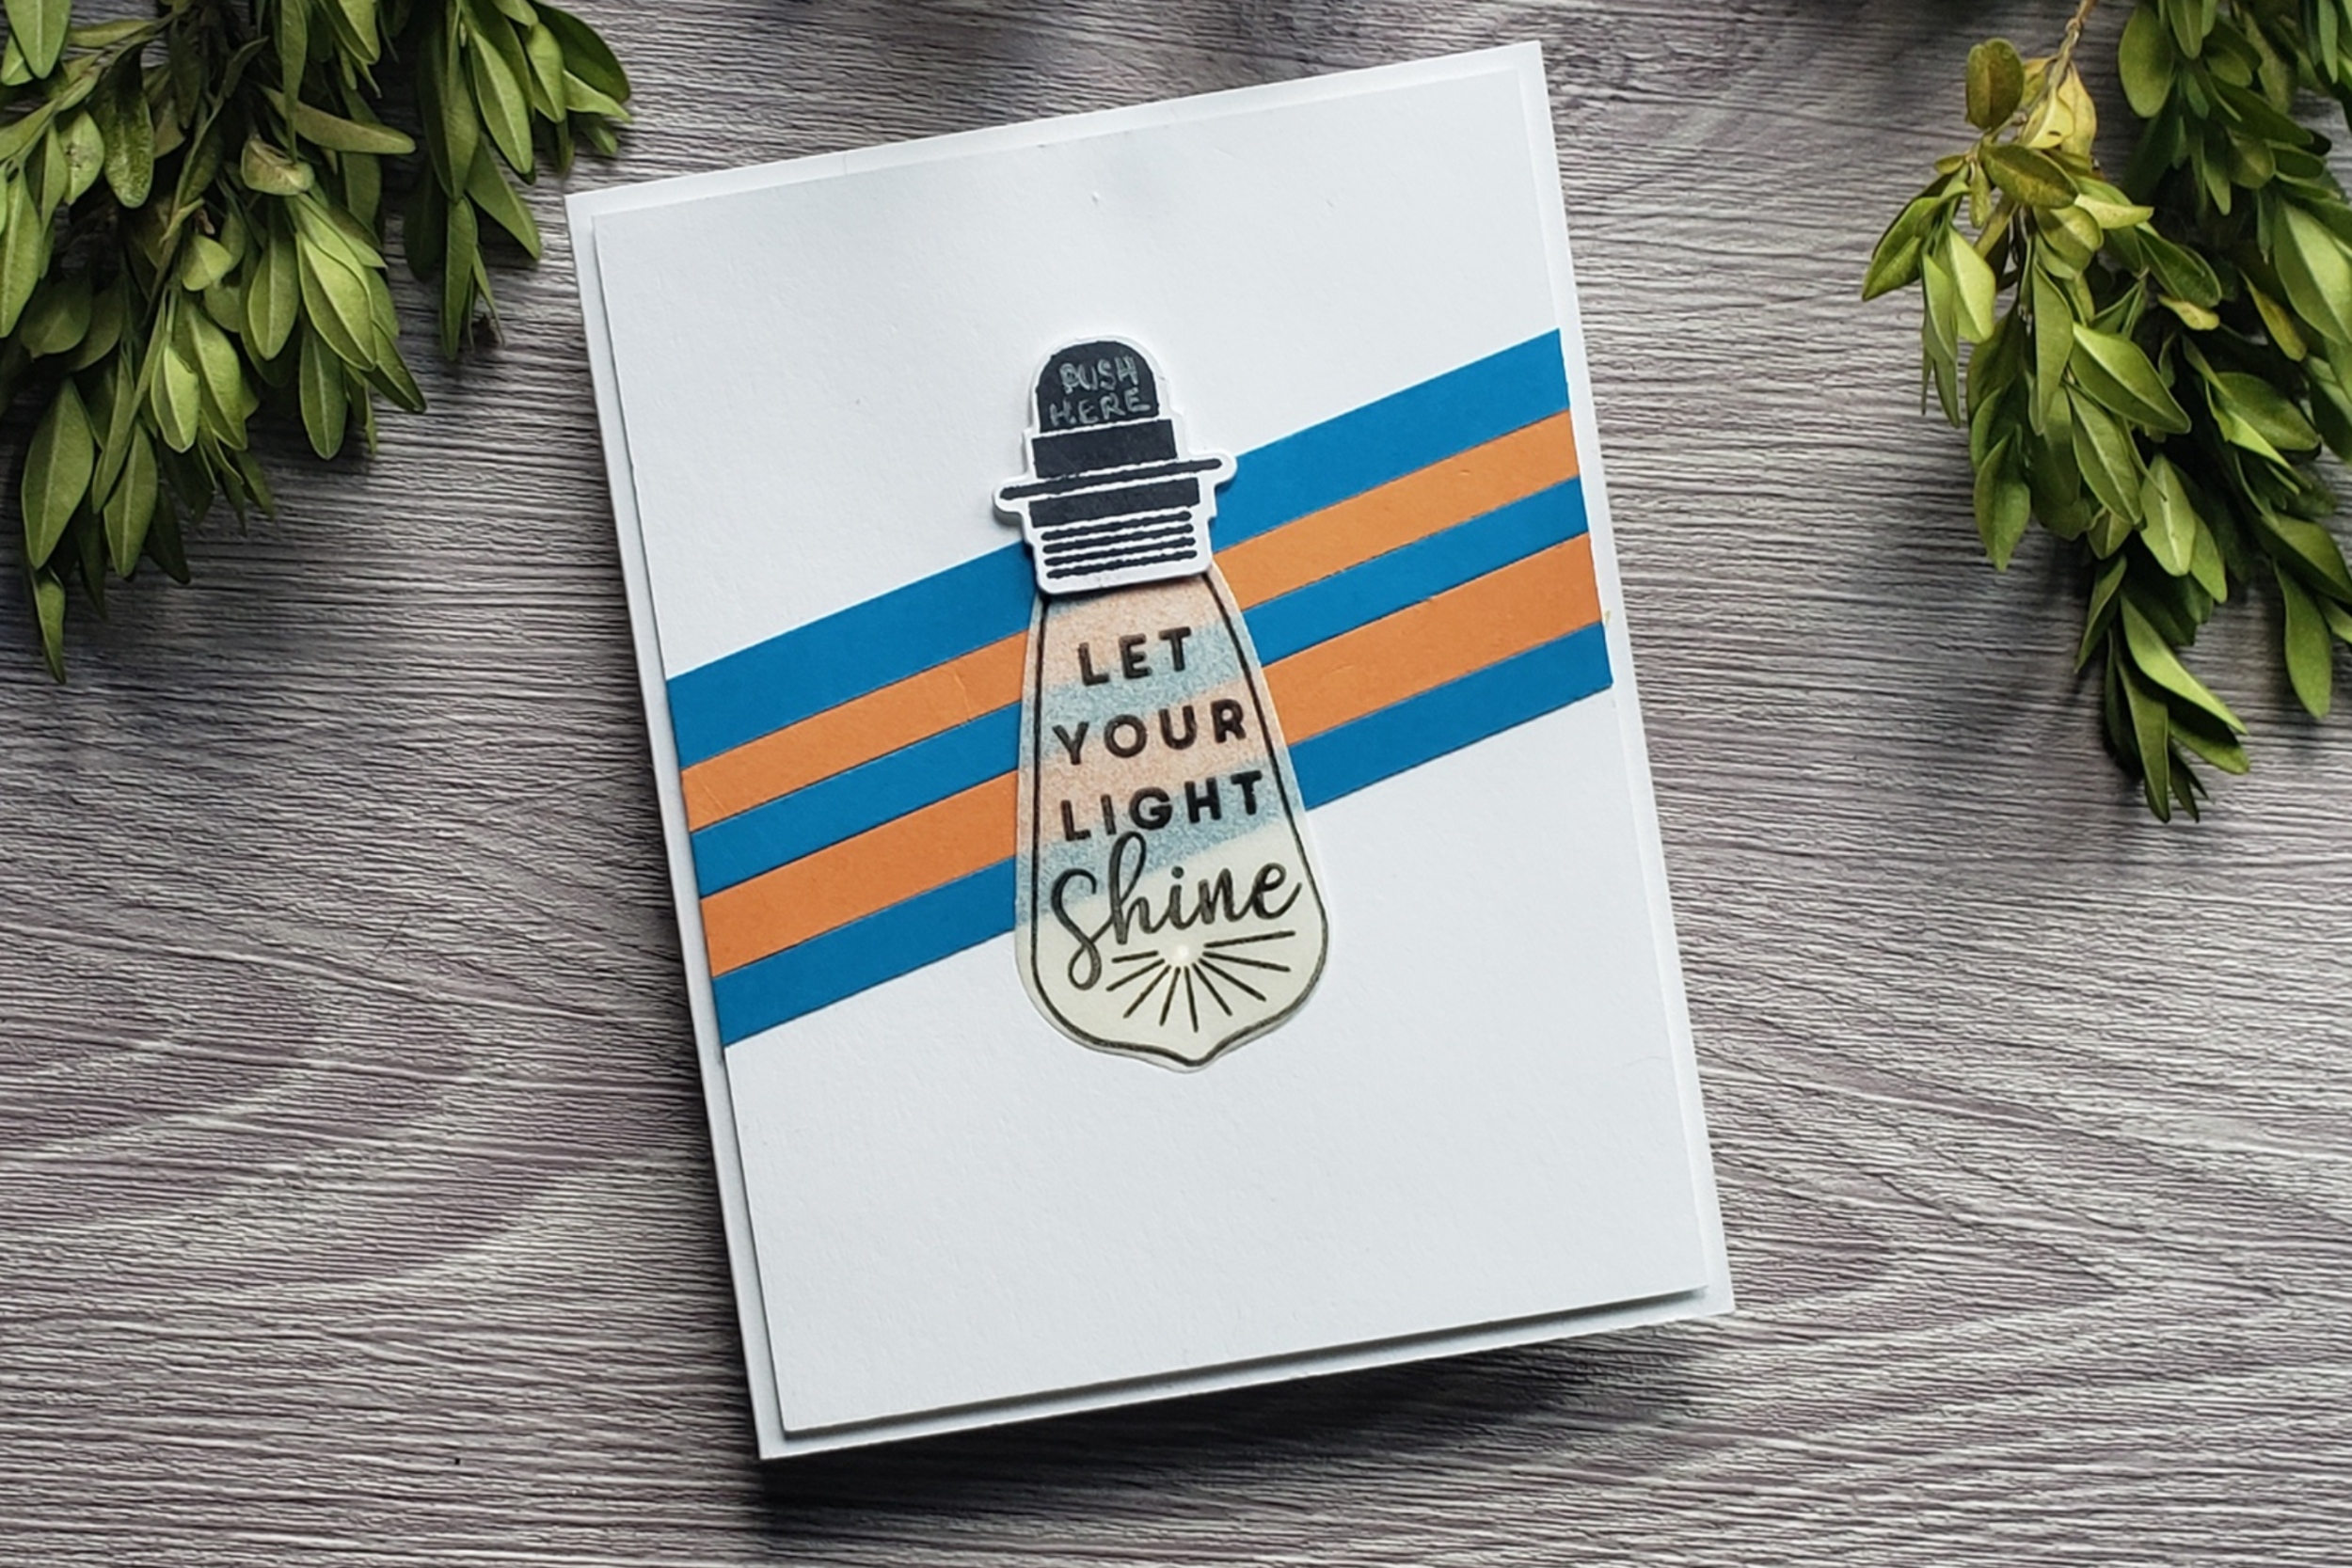
Card 1 Step-by-Step Instructions:
To begin, I created an A2-sized card base and put it aside.
Then, I trimmed some strips of Gina K’s cardstock in Sweet Mango and Blue Raspberry.
I trimmed down an A2-sized panel taking off a quarter inch off one side and one end. Then, I adhered the colored cardstock strips at an angle to the front of the panel with double-sided adhesive.
Next, I stamped out the base of the bulb image from the Shine On Stamp set from Concord & 9th with some Midnight Ink. Then I die cut it out with the coordinating die.
Earlier, I had stamped and die cut the light bulb image from the same set on some Parchment Paper from Cardstock Warehouse.
I adhered them both to the front of the panel. Then I poked a hole in the panel with a paper piercing tool where I wanted the light to shine through.
Next, I set up the Power Pack circuit on the front of the card base (see the video below), being careful to place the light under the hole I made.
Finally, I popped up the panel on some foam tape over the card base. I wrote, “Push Here” in white gel ink on the bulb base. I also glued down the end of the bulb image with a Zig Glue Pen.

Card 2 Step-by-Step Instructions:
For the second card, I started by stamping out the Hero Arts Star Light Background Stamp onto a 6 x 6 piece of cardstock. I inked up the stamp with Flirty Fuchsia, Grape Crush and Black Jack Inks from Catherine Pooler.
Then, I trimmed down the panel to 4 x 5.25 inches and pierced it several times.
Next, i built the circuit of the Power Pack Kit onto the front of a black A2 card base.
Then, i popped up the panel over the Power Pack with some foam tape.
For the sentiment, I die cut the Shine shadow out of some Grape Jelly cardstock and stamped the shadow image for the word, Shine, with some Grape Crush ink.
Next, i die cut the word Shine out of some Neenah Solar White Cardstock and adhered it to the from of the Shine Shadow Die Cut with some Gina K Connect Glue.
To finished off the card, I heat embossed the words, “It’s Your Time To”, on some black cardstock with Alabaster embossing powder from Brutus Monroe. I adhered them all to the front of the panel and pressed the button for three days straight! :D hahaha… It’s a lot of fun.
Thank you for spending some time with me on this hop today! I sure hope you enjoyed these cards. If you have been inspired to purchase any of the supplies I have mentioned here, you will a grid of supplies below. Thanks for using my affiliate links!
Be sure to comment below to be entered into the giveaway I mentioned earlier! By using them, you help keep new and fresh content coming your way here at Del & Artie. I hope you have an incredible rest of your day!