
Welcome to the Shake It Up Blog Hop by the Brutus Monroe Inspiration Team. The theme for this week’s hop has us shakin’ it up!! I have to admit, when I first saw shaker cards, I thought I would never do one. I found them a little novel and at the same time, daunting. But then I made one and became hooked!!! Something about shaking a card with bling behind a tiny window brings a smile to my face. Now I find them fascinating. With the right tools, you can make one in no time!
For my card, today, I chose for the background, the B|M Rose Garden Stamp. I stamped the image on to a piece of Neenah Classic Crest Cardstock using B|M Raven Detail Ink. This ink plays well with alcohol markers or watercolor when dry, so I heat set the ink with my Wagner Heat Tool and began to color it in with six Copic markers: R24, R46, and R69 for the red roses and E08, YR04 and Y15 for the yellow ones.

After coloring in the roses, I took out some rusty orange cardstock I had in my stash and cut out the center of it using my Stitched Rectangle Dies from Lawn Fawn. I trimmed it down to fit the size of the card and cover the colored panel below it. Then I took my background stamp and inked it up with some B|M Clear Embossing Ink and stamped it twice to cover the outer window panel. The window frame was too large for the stamp, so there was a small gap left where the sides of the stamped image meet on the frame. So I grabbed my Ranger Perfect Medium Brush Pen and connected the lines between the two stamped images to fill in the empty space. (Can you tell where the two sides actually meet?)

I adhered a piece of acetate from one of my stamp sets to the back of that window and popped it up on some B|M Foam Tape. For the bling inside the shaker window, I added some fall-colored Flat-Back Pearls from the B|M Autumn Inspiration Box. The Foam Tape raised the window up to just the right height, so that the half pearls would not flip over in the window when shaken. PERFECTION!

Then, I found a piece of vellum in my stash and stamped the same Rose Garden Stamp on it with B|M Clear Embossing Ink. I poured some B|M Alabaster Embossing Powder over the top of it and melted it with my heat tool. Then I trimmed out the image of one of the roses and adhered it to the side of the window frame with some B|M All-Purpose Craft Glue. For the sentiment, I pulled out the B|M Botanical Banners Stamp Set and stamped the I LOVE YOU banner onto some Neenah Classic Crest cardstock using B|M Maple Surface Ink. I fussy cut the banner out and glued it onto the front of the rose embossed vellum.

To finish off the card, I adhered the shaker top to a card base I made from Neenah Classic Crest 110lb cardstock.
I dedicate this card to my precious wife who loves me so well. I LOVE YOU PAULA!
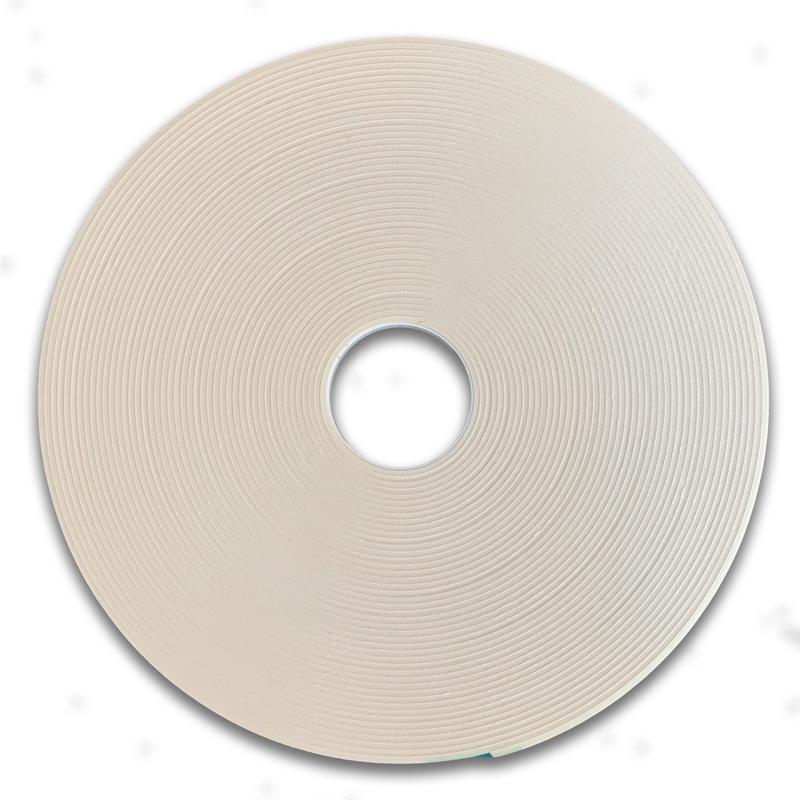
My entry finishes out this blog hop today! Please let me know, in the comments below if you plan on making a shaker card, too! You should definitely consider using Brutus Monroe’s big momma roll of Foam Tape!! Last night, B|M Released Heat-Resistant Vellum, too… better get some before its gone!!!
You can check out the making of this card on my YouTube Channel here! If you landed here outside of the blog hop, here’s the hop list. Please check out all of the B|M Inspiration Team’s shaker cards!!! They are beautiful!!
Supplies List:
Ranger Perfect Medium Brush Pen
B|M Alabaster Embossing Powder
B|M Botanical Banners Stamp Set
B|M Released Heat-Resistant Vellum
Blog Hop List:
DANIEL (you are here)
This big momma roll of foam tape comes in a pizza box to your door!!